Upgrade Guidance
MECEAP 2.9
Upgrade ElasticSearch to 6.2
For this migration we need to reindex all data to the new ElasticSearch, The MECEAP 2.9 or higher, has a migration to reindex all the data.
Before install ou start a MECEAP 2.9 or higher, please see the information below
Docker
First, it is necessary stop and remove the old containers of your current version
mvn ceap-docker:down
If you are preserving the volumes, you need to remove the old volume, the command below represent that you MECEAP's name is default
docker volume rm default_es1_data
Change your parent-pom to use version 6.10.0-RELEASE
Now you can configure your environment to MECEAP 2.9 or higher, and use it as you normally use.
Servers
Run the script below to upgrade the ElasticSearch 6.X and clean the old data
run_asset_script upgrade_elastic_2x_to_6x deploy_meceap/upgrade_elastic_2x_to_6x
If you are using a VM without the command run_asset_script it is possible to run this script using curl
curl -s http://ec2.mercadoeletronico.com/filter/assets/deploy_meceap/upgrade_elastic_2x_to_6x.sh > /tmp/upgrade_elastic_2x_to_6x; bash /tmp/upgrade_elastic_2x_to_6x
MECEAP
The first execution of MECEAP 2.9 or higher, the system will start a reindex process. This process will be executed in background using Queues.
You can monitoring the progress accessing the link "Reindex Monitor" on the Administrative Menu
MECEAP 2.20
Upgrade ElasticSearch to 6.5
For this migration we does not need to reindex all data to the new ElasticSearch
Before install ou start a MECEAP 2.20 or higher, please see the information below
Docker
First, it is necessary stop and remove the old containers of your current version
mvn ceap-docker:down
Change your parent-pom to use version 6.20.0-RELEASE
Now you can configure your environment to MECEAP 2.20 or higher, and use it as you normally use.
Servers
Run the script below to upgrade the ElasticSearch 6.5
run_asset_script upgrade_elastic_65_oss deploy_meceap/upgrade_elastic_65_oss
If you are using a VM without the command run_asset_script it is possible to run this script using curl
curl -s http://ec2.mercadoeletronico.com/filter/assets/deploy_meceap/upgrade_elastic_65_oss.sh > /tmp/upgrade_elastic_65_oss; bash /tmp/upgrade_elastic_65_oss
MECEAP 2.22
Webpack Migration
This topic will cover the migration of an existing application to the use of webpack.
Step 1: First we must update the parent pom to version 6.20.3 or higher.
* If you are already using a higher version please disregard this step.

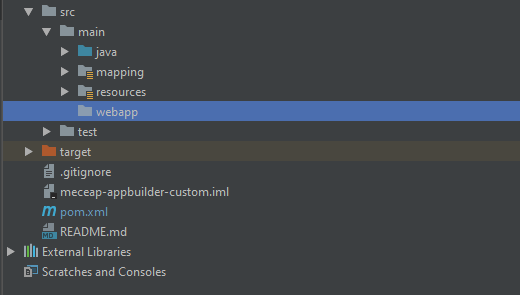
Step 2: Inside src/main we should create a folder called webapp.
Step 3: Create the package.json file inside of this new webapp folder.
{
  "name": "webapp",
  "version": "1.0.0",
  "scripts": {
    "build": "webpack"
  },
  "devDependencies": {
    "babel-core": "6.26.0",
    "babel-loader": "7.1.2",
    "babel-preset-env": "1.6.0",
    "babel-preset-react": "6.24.1",
    "babel-preset-stage-3": "6.24.1",
    "clean-webpack-plugin": "2.0.1",
    "coffee-loader": "0.9.0",
    "coffeescript": "2.3.2",
    "css-loader": "0.28.7",
    "expose-loader": "0.7.5",
    "file-loader": "1.1.4",
    "node-sass": "4.11.0",
    "sass-loader": "7.1.0",
    "style-loader": "0.23.1",
    "vue": "2.5.11",
    "vue-loader": "15.7.0",
    "vue-template-compiler": "2.4.4",
    "webpack": "4.29.6",
    "webpack-cli": "3.2.3"
  }
}
Step 4: Create the .babelrc file inside of this new webapp folder.
{
  "presets": [
    ["env", { "modules": false }],
    "stage-3",
    "react"
  ]
}
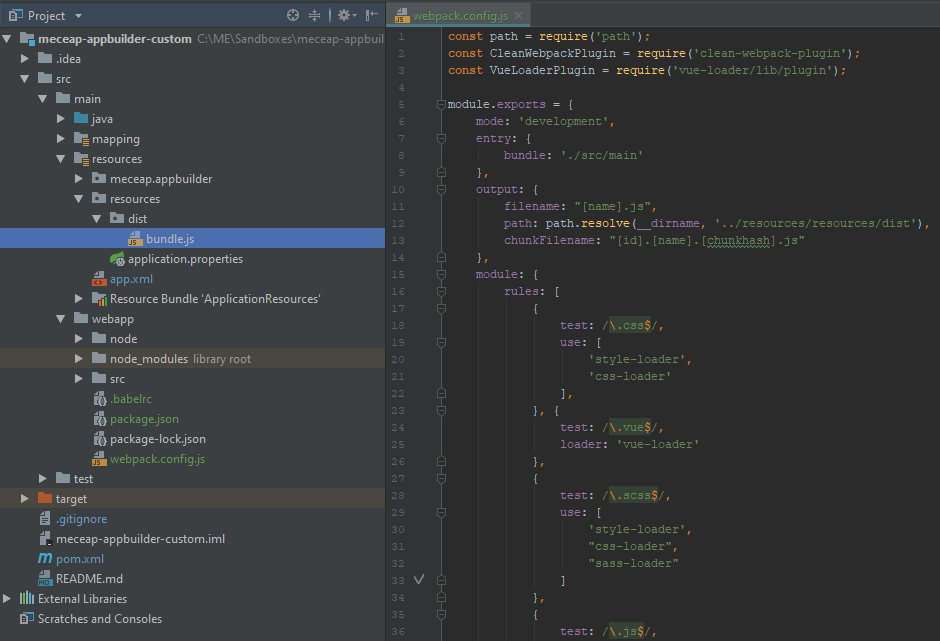
Step 4: Create the webpack.config.js file inside of this new webapp folder.
const path = require('path');
const CleanWebpackPlugin = require('clean-webpack-plugin');
const VueLoaderPlugin = require('vue-loader/lib/plugin');

module.exports = {
    mode: 'development',
    entry: {
        bundle: './src/main'
    },
    output: {
        filename: "[name].js",
        path: path.resolve(__dirname, '../resources/resources/dist'),
        chunkFilename: "[id].[name].[chunkhash].js"
    },
    module: {
        rules: [
            {
                test: /\.css$/,
                use: [
                    'style-loader',
                    'css-loader'
                ],
            }, {
                test: /\.vue$/,
                loader: 'vue-loader'
            },
            {
                test: /\.scss$/,
                use: [
                    'style-loader',
                    "css-loader",
                    "sass-loader"
                ]
            },
            {
                test: /\.js$/,
                loader: 'babel-loader',
                exclude: /node_modules/
            },
            {
                test: /\.(png|jpg|gif|svg)$/,
                loader: 'file-loader',
                options: {
                    name: '[name].[ext]?[hash]'
                }
            },
            {
                test: /\.coffee$/,
                loader: 'coffee-loader',
                options: {
                    transpile: {
                        presets: ['env']
                    }
                }
            }
        ]
    },
    resolve: {
        extensions: ['*', '.js', '.vue', '.coffee']
    },
    plugins: [
        new CleanWebpackPlugin(),
        new VueLoaderPlugin()
    ]
};
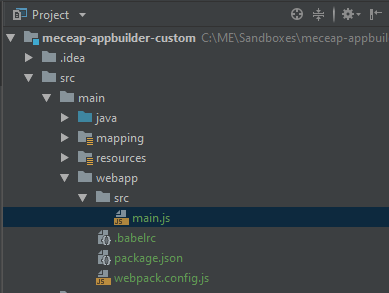
Step 5: Create the bundle file named main.js inside of webapp/src folder.
After following all the steps you will have the following structure.
Step 6: Now is the time to install the node and its dependencies.
To do this, we will use the frontend plugin.
- frontend:install-node-and-npm
- frontend:npm
- frontend:webpack
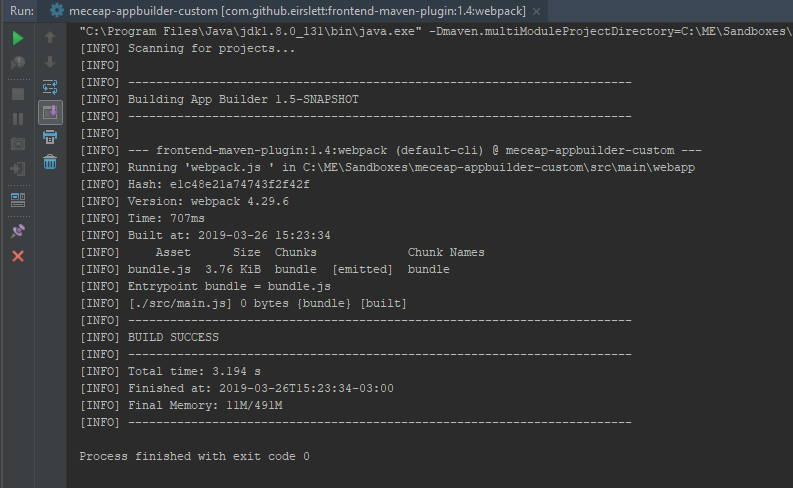
After executing the frontend:webpack will generate the bundle file.
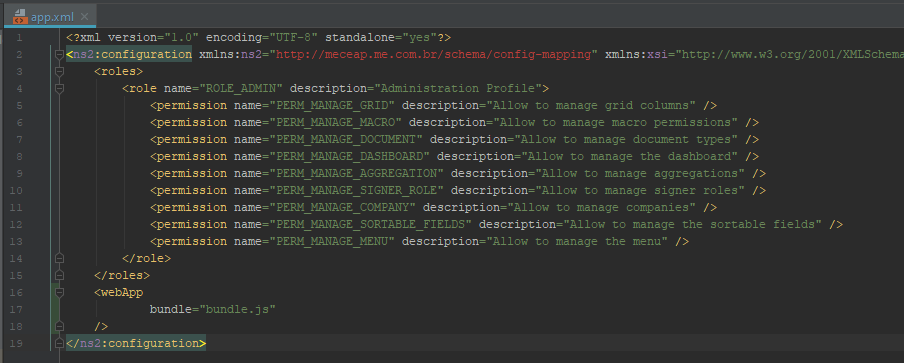
Step 7: With the bundle file ready, we will configure for the ceap to perform include on all pages.
For this we need to inform the name of the bundle file that was generated by the webpack, in our case: bundle.js.
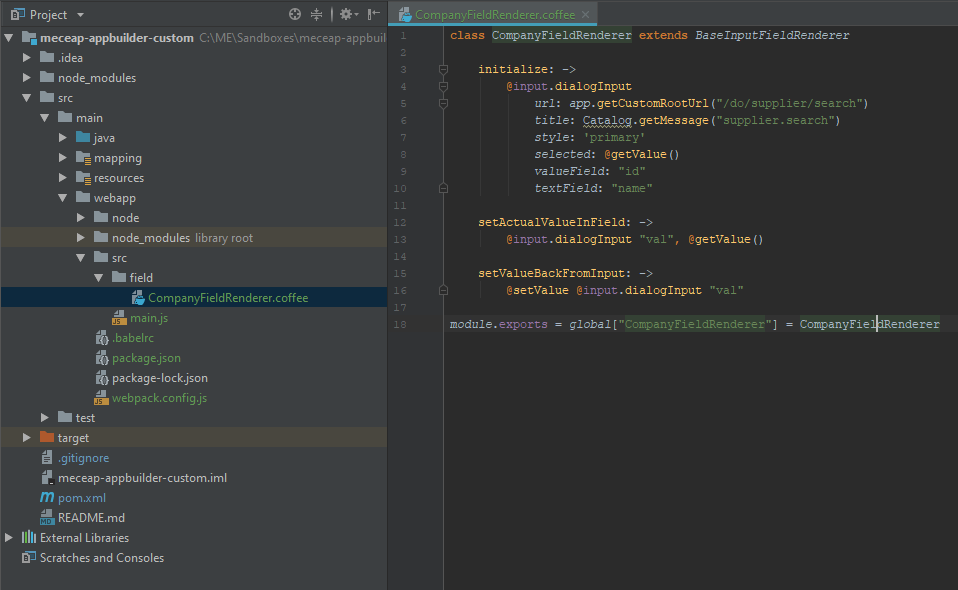
Step 8: Migrating the first file. From now on you can be free to choose the src structure.
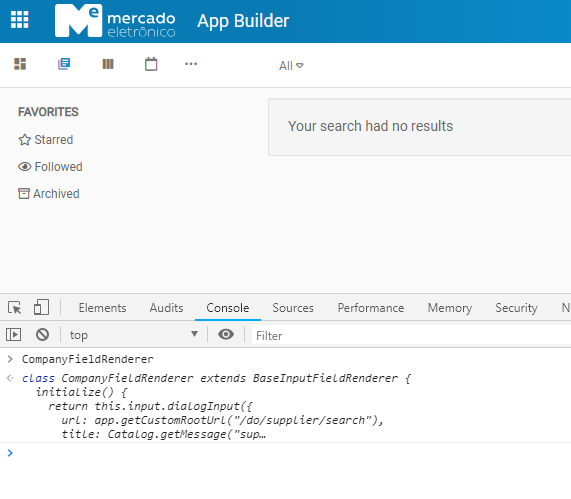
In our example we will add a field implementation. src/field/CompanyFieldRenderer.coffee.
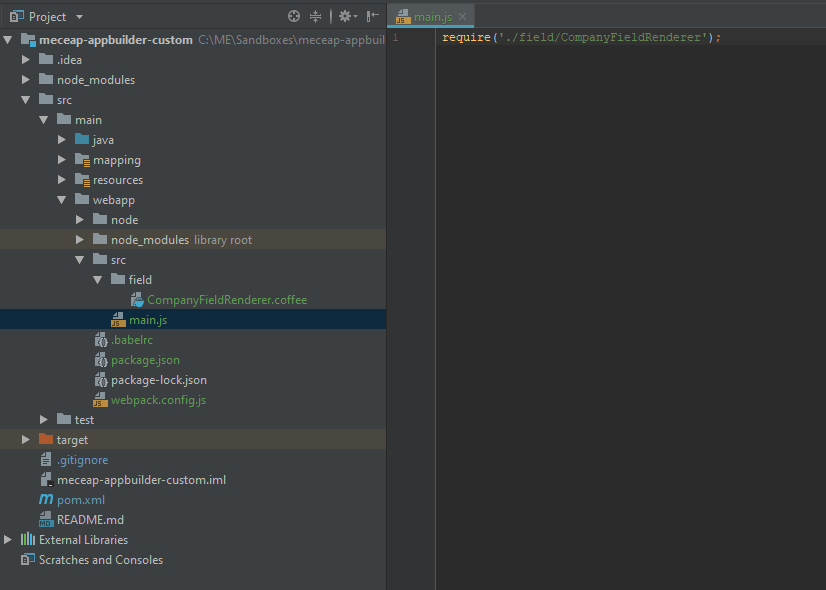
Now we just include it in our main.js.
We must remember that we need to run the webpack frontend: webpack.
Done !!.
As you can see, our component is already present.
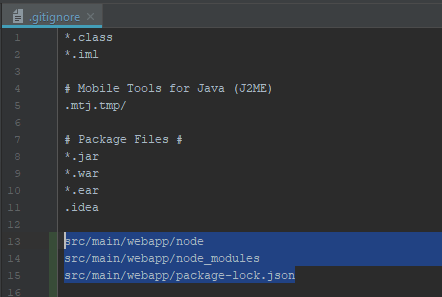
Remember to add the rules in the .gitignore file.