Dev Guide
Maven Repository Configuration
First we need to configure the MECEAP repository for the maven archetype. Follow the following guide Maven Archetype Configuration
MECEAP Maven Archetype
The MECEAP has an Archetype that will make your work easier
mvn archetype:generate -DarchetypeGroupId=br.com.me.ceap -DarchetypeArtifactId=ceap-archetype
The arguments definitions:
- archetypeVersion: The archetypeVersion version (Ex:
-DarchetypeVersion=1.7.1-RELEASE) - groupId: The application groupId (Ex:
-DgroupId=meceap.miisy101) - artifactId: The application artifactId (Ex:
-DartifactId=meceap-miisy101-custom) - version: The application version (Ex:
-Dversion=1.0.0-SNAPSHOT) - package: The application package (Ex:
-Dpackage=meceap.miisy101) - ceapCustomRootName: The application name (Ex:
-DceapCustomRootName=miisy101) - parentPomVersion: The parent pom version (Ex:
-DparentPomVersion=#.##.#-RELEASE) to view the latest version click this link - ceapVersion: The MECEAP version (Ex:
-DceapVersion=#.##) to view the latest version click this link - ceapUrl: The MECEAP Url Default -> http://localhost:8080 (Ex:
-DceapUrl=http://localhost:8080) - ceapUsername: The MECEAP Username Default -> admin@misy.com (Ex:
-DceapUsername=admin@misy.com) - ceapPassword: The MECEAP Password Default -> 123456abc@ (Ex:
-DceapPassword=123456abc@)
Creating your project
The command below will create a maven project. Replace ceapVersion and parentPomVersion with the corresponding versions explained before.
mvn archetype:generate "-DarchetypeGroupId=br.com.me.ceap" "-DarchetypeArtifactId=ceap-archetype" "-DarchetypeVersion=1.7.1-RELEASE" "-DgroupId=meceap.miisy101" "-DartifactId=meceap-miisy101-custom" "-Dversion=1.0.0-SNAPSHOT" "-Dpackage=meceap.miisy101" "-DceapCustomRootName=miisy101" "-DceapUsername=admin@misy.com" "-DceapUrl=http://localhost:8080" "-DparentPomVersion=#.##.#-RELEASE" "-DceapVersion=#.##" -P MECEAP
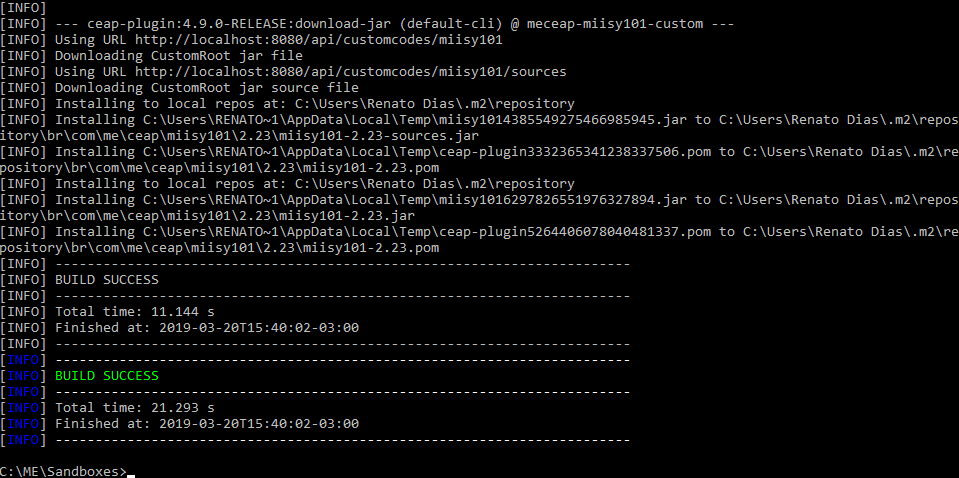
The project will create a folder named meceap-miisy101-custom
cd meceap-miisy101-custom
Starting MECEAP
We need to start a MECEAP instance, the command below will start a docker container of MECEAP and wait be ready
mvn ceap-docker:up
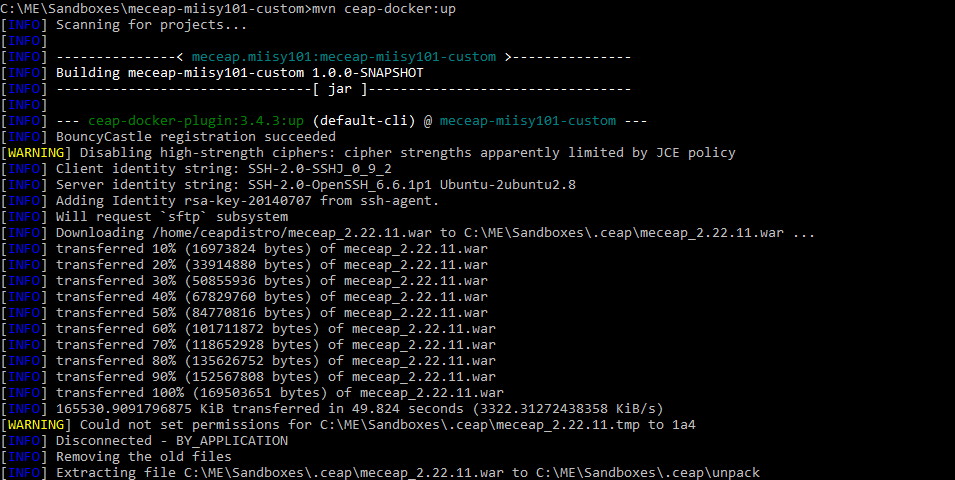
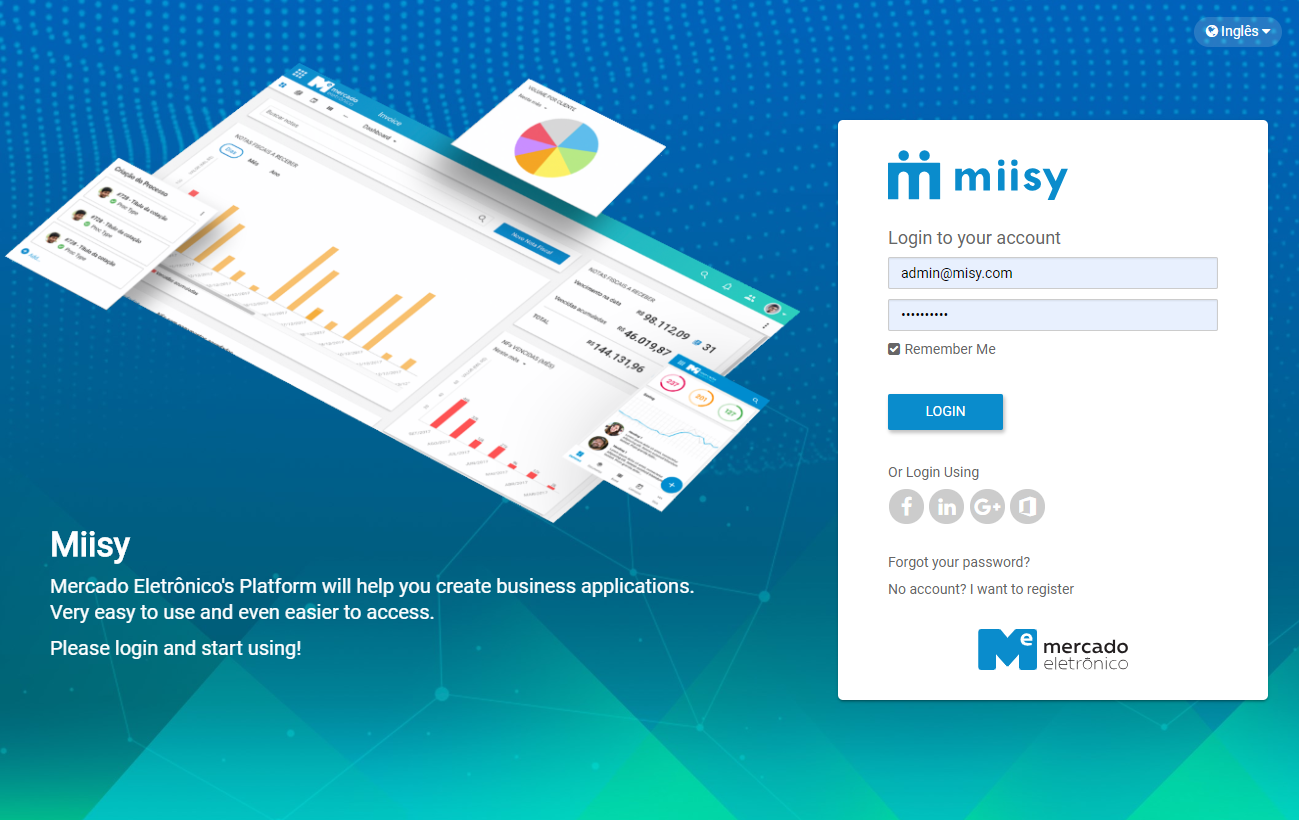
You can access the http://localhost:8080 to access the MECEAP instance
user: admin@misy.com password: 123456abc@
Creating you first Application
We need to create the Application (Custom Root)
mvn ceap:create-root
The application is created, we need to get the MECEAP Depedency for your application
mvn ceap:download-jar
After that we can install the example application
mvn install
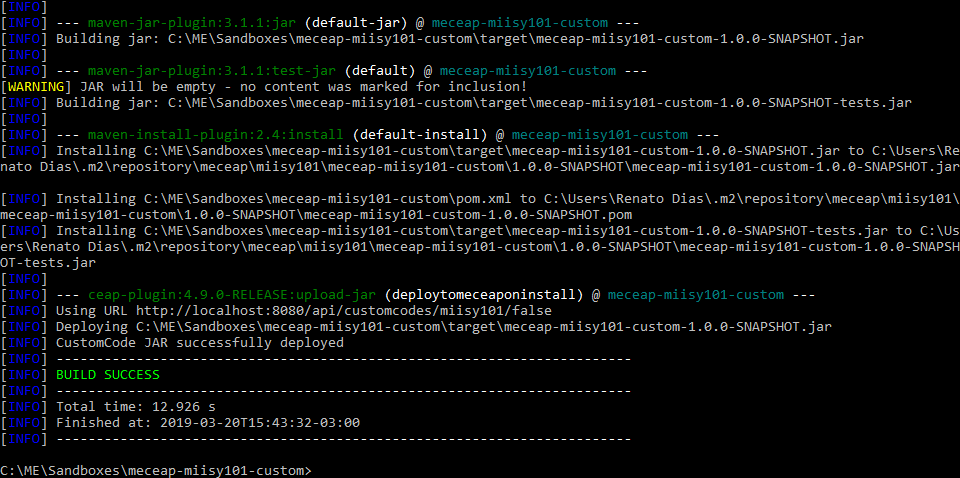
We can access the http://localhost:8080/miisy101/do/example/view to access the custom code installed into the application.
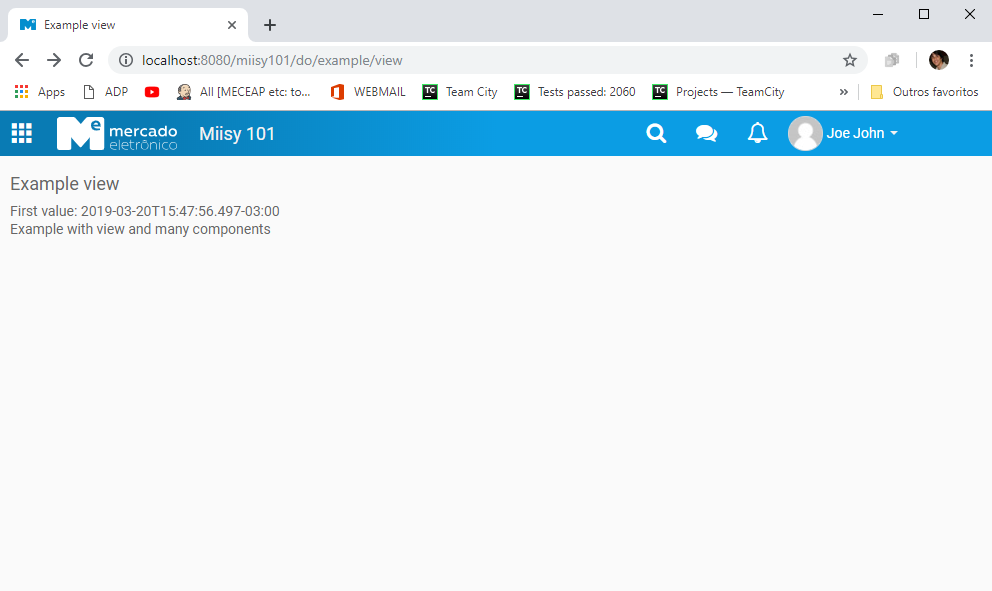
MECEAP Maven Plugins
MECEAP Docker Plugin
The MECEAP use the Rancher Desktop to prepare the environment
mvn ceap-docker:upStart MECEAP instancemvn ceap-docker:downStop MECEAP instancemvn ceap-docker:logShow the MECEAP logs
MECEAP Plugin
This plugin is used to manager you application into the MECEAP
mvn ceap:create-rootCreate the application on a MECEAP instancemvn ceap:upload-mappingInstall the structure information (DataObject, DocumentType, etc)mvn ceap:download-jarWill download the MECEAP Dependency for the applicationmvn ceap:upload-jarInstall the compiled classes into the MECEAPmvn ceap:clean-codeRemove all the custom codesmvn ceap:clean-rootRemove all the custom codes, structures and datamvn ceap:validateValidate if the dependencies are correctly
Modeling
DataObject
Category.dom.xml
<?xml version="1.0" encoding="UTF-8" standalone="yes"?>
<do-mapping xmlns="http://meceap.me.com.br/schema/do-mapping" xmlns:xsi="http://www.w3.org/2001/XMLSchema-instance" xsi:schemaLocation="http://meceap.me.com.br/schema/do-mapping http://docs.miisy.me/xsd/do-mapping.xsd">
    <do baseName="Category" description="Product Category" name="Category" pluralBaseName="Categories">
        <property description="The Code" displayName="Code" type="java.lang.String" name="code" order="1">
            <param name="length" value="100"/>
            <param name="required" value="true"/>
            <param name="minLength" value="2"/>
        </property>
        <property description="Name" displayName="name" type="java.lang.String" name="name" order="2">
            <param name="length" value="100"/>
            <param name="required" value="true"/>
            <param name="minLength" value="3"/>
        </property>
        <property description="Active" displayName="Active" type="java.lang.Boolean" name="active" order="3" />
    </do>
</do-mapping>
Product.dom.xml
<?xml version="1.0" encoding="UTF-8" standalone="yes"?>
<do-mapping xmlns="http://meceap.me.com.br/schema/do-mapping" xmlns:xsi="http://www.w3.org/2001/XMLSchema-instance" xsi:schemaLocation="http://meceap.me.com.br/schema/do-mapping http://docs.miisy.me/xsd/do-mapping.xsd">
    <do baseName="Product" description="The Product" name="Product" pluralBaseName="Products">
        <property description="The Code" displayName="Code" type="java.lang.String" name="code" order="1">
            <param name="length" value="100"/>
            <param name="required" value="true"/>
            <param name="minLength" value="2"/>
        </property>
        <property description="Name" displayName="name" type="java.lang.String" name="name" order="2">
            <param name="length" value="100"/>
            <param name="required" value="true"/>
            <param name="minLength" value="3"/>
        </property>
        <property description="Category" displayName="Category" type="java.lang.Object" name="category" order="3">
            <param name="dataSource" value="All"/>
            <param name="textField" value="name"/>
            <param name="required" value="false"/>
            <param name="type" value="Category"/>
        </property>

        <index name="uq_code" unique="true">
            <field name="code"/>
        </index>
    </do>
</do-mapping>
Put the files on your project /src/main/mapping/dataobject/
Then execute mvn ceap:upload-mapping
CRUD on web: go to CustomRoot Admin > Data Objects
Modify the DataObject structure on web then download the result back to project: mvn ceap:download-mapping
Note: For a more detailed explanation of DataObjects, including what they are and their functionalities, please refer to the section DataObject.
Data Source
ActiveCategories.dsm.xml
<?xml version="1.0" encoding="UTF-8" standalone="yes"?>
<ds-mapping xmlns="http://meceap.me.com.br/schema/ds-mapping" xmlns:xsi="http://www.w3.org/2001/XMLSchema-instance" xsi:schemaLocation="http://meceap.me.com.br/schema/ds-mapping http://docs.miisy.me/xsd/ds-mapping.xsd">
    <ds dataObject="Category" description="Active Categories" name="ActiveCategories">
        <filter>
            <criteria fieldName="active" operator="is" value="true"/>
        </filter>
    </ds>
</ds-mapping>
Put the file on /src/main/mapping/datasource
Execute mvn ceap:upload-mapping to upload new mapping files
Document
To create a new document, you have to create a new file called xxx.dom.xml where xxx is the name of your document, follow these steps:
- Navigate to the Mapping Directory:
Go to the
mappingdirectory in your project folder. - Create the "document" Folder:
If it doesn't already exist, create a folder named
documentinside themappingdirectory. - Create the New XML File:
Inside the
documentfolder, create a new file namedxxx.dom.xml, replacingxxxwith the name of your document. - Set the Data Objects and Their Multiplicity:
Open the newly created
xxx.dom.xmlfile and define the data objects and their multiplicity. Below is an example template:
<?xml version="1.0" encoding="UTF-8" standalone="yes"?>
<ns2:document-mapping xmlns:ns2="http://meceap.me.com.br/schema/dd-mapping" xmlns:xsi="http://www.w3.org/2001/XMLSchema-instance" xsi:schemaLocation="http://meceap.me.com.br/schema/dd-mapping http://docs.miisy.me/xsd/dd-mapping.xsd">
    <document description="SupplierDocument" displayName="SupplierDocument" name="SupplierDocument" pluralName="SupplierDocument">
        <cloneableFields/>
        <documentData dataObject="MainObjDataObject" multiplicity="ONE" name="MainObj"/>
        <documentData dataObject="ObjDataObject" multiplicity="ZERO_OR_MANY" name="ObjList"/>
        <notificationFields/>
        <properties>
            <item key="LIST_DOCUMENT_ENABLE" value="true"/>
            <item key="SEARCH_BOX_DISABLED" value="true"/>
            <item key="DEFAULT_CARD_RENDERER" value="DocumentDefaultCardRenderer"/>
            <item key="DEFAULT_GRID_CARD_RENDERER" value="DocumentDefaultGridCardRenderer"/>
            <item key="DEFAULT_SEARCH_BOX_RENDERER" value="DocumentDefaultSearchDocCardRenderer"/>
            <item key="WEBSERVICE" value="false"/>
            <item key="NOTIFY_USERS_ON_CHANGE" value="false"/>
        </properties>
        <sharing/>
        <sharingFields/>
    </document>
</ns2:document-mapping>
Note: For a more detailed explanation of Documents, including what they are and their functionalities, please refer to the section Document.
Screen
To create a screen for a document, follow these steps:
- Navigate to the Appropriate Directory:
Go to the directory where you want to create the screen file. This is typically within a
screensoruifolder in your project. - Create the New Screen XML File:
Inside the chosen directory, create a new file named
xxx.yyy.screen.xml, replacingxxxwith the name of your document andyyywith the name of the screen. - Define the Screen Structure:
Open the newly created
xxx.yyy.screen.xmlfile and define the structure and elements of the screen.
Below is an example template for a screen XML file:
<?xml version="1.0" encoding="UTF-8" standalone="yes"?>
<ns2:screen-mapping xmlns:ns2="http://meceap.me.com.br/schema/screen-mapping" xmlns:xsi="http://www.w3.org/2001/XMLSchema-instance" xsi:schemaLocation="http://meceap.me.com.br/schema/screen-mapping http://docs.miisy.me/xsd/screen-mapping.xsd">
    <screen name="Address" documentType="SupplierDocument" readOnlyMode="never" activity="false" archive="false" attachment="false" board="false" calendar="false" checklist="false" clone="false" follow="false" macro="false" presence="false" showPrivacyPanel="true" processHistory="false" relationship="false" remove="false" star="false" tag="false">
        <section name="Default main section">
            <properties>
                <item key="showBorder" value="1"/>
                <item key="showTitle" value="2"/>
            </properties>
            <styles>
                <item key="shadow" value="true"/>
                <item key="background" value="#ffffff"/>
            </styles>
            <section name="Supplier" dtd="Supplier">
                <properties/>
                <styles/>
                <field name="documentNumber">
                    <properties>
                        <item key="markDownEditor" value="false"/>
                        <item key="useTextArea" value="false"/>
                        <item key="mask" value="00.000.000/0000-00"/>
                        <item key="onlineEdit" value="false"/>
                        <item key="showTitle" value="true"/>
                        <item key="readOnly" value="false"/>
                        <item key="required" value="true"/>
                        <item key="name" value="supplier.cnpj.label"/>
                        <item key="simpleTextArea" value="false"/>
                    </properties>
                    <settings/>
                    <styles>
                        <item key="bold" value="false"/>
                        <item key="italic" value="false"/>
                        <item key="underline" value="false"/>
                    </styles>
                </field>
            </section>
        </section>
        <action description="Proceed with the process flow." title="button.save" name="save" order="1">
            <completeTask>false</completeTask>
            <properties>
                <item key="btnStyle" value="Primary"/>
            </properties>
            <validateScreen>true</validateScreen>
        </action>
    </screen>
</ns2:screen-mapping>
Filter
Coding
Refreshing you project
mvn ceap:download-jar to download a jar with all generated code.
Document Basic Features
Events (AfterLoad, BeforeSave, AfterSave, AfterCreate)
Search (DocumentSearchParamConfiguration<T>)
Card Renderer: Grid and search
/src/main/resources/css/ /src/main/resources/js/
Controller
/src/main/java/meceap/miisy101/controller/ProductController.java
package meceap.miisy101.controller;

// imports ommited

@Controller
@RequestMapping("/{customRootName}/do/products")
public class ProductController {

    // Injects generated manager
    @Inject
    private ProductManager productManager;

    @RequestMapping(method=RequestMethod.GET)
    public List<Product> list() {
        return productManager.getAll();
    }

    @RequestMapping(value = "/{productId}", method=RequestMethod.GET)
    public Product getProduct(Product product) {
        return product;
    }
}
Execute mvn install to upload the code.